Prerequisites
Before configuring the Visily integration with Google SSO, ensure the following prerequisites are met:
- Google SSO Administrator Access: You must have administrative access to the Google SSO Admin Console.
- SAML 2.0 Enabled: Ensure that the SAML 2.0 feature is enabled for your Google SSO organization.
- Visily Account Plan: To enable SAML SSO, your Visily account must be on the Business plan that supports SAML integration.
- Verified Domain: Ensure that your domain is verified in Visily to proceed with SSO configuration.
Get Google identity provider (IdP) information
1. Make sure you’re signed into an administrator account to ensure your user account has the appropriate permissions.
2. In the Admin console, go to Menu -> Apps -> Web and mobile apps.

3. Create the Visily SAML app
Click Add App → Add customer SAML app

Enter the app name and upload an icon for Visily app then click Continue.

4. On the Google Identity Provider details page, download the IdP metadata file and copy Entity ID

5. Open the file, GoogleIDPMetadata.xml in a compatible editor, then select and copy the contents of the file.
6. Leave the Admin console open, you’ll continue with the configuration wizard after performing the next step in the Visily application.
Configure SAML settings in Visily
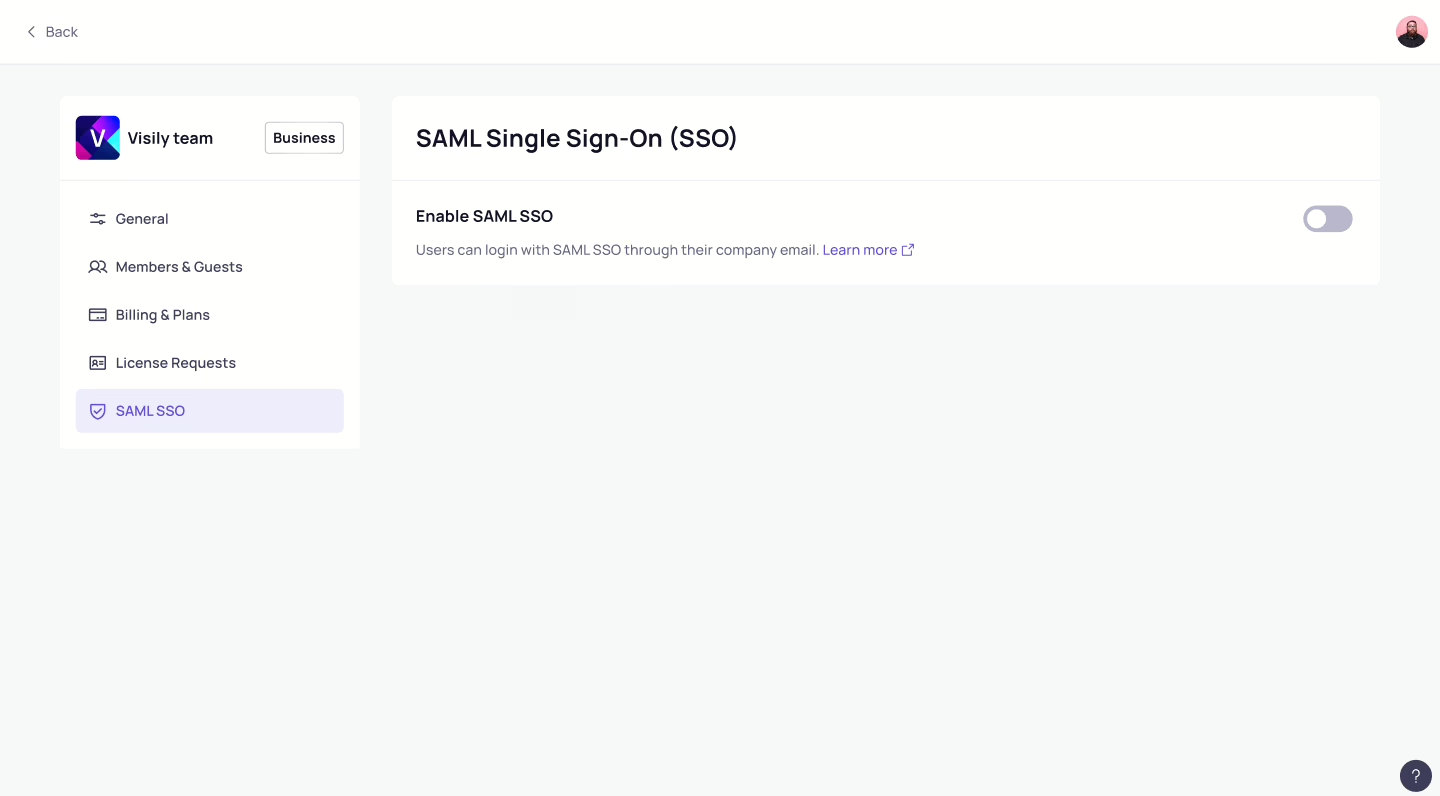
- In Visily, go to the Team settings page, then select the SAML SSO tab.
- Toggle on Enable SAML Single sign-on (SSO), and the Configuration SAML SSO modal will automatically appear.
- Choose Identity Provider URL, and past the Entity ID (copied above).
- Choose the Identity Provider Metadata XML radio, and paste the contents of the GoogleIDPMetadata.xml file, (copied above). Click Save changes.
- Copy and save the Assertion Consumer Service (ACS) URL. You’ll need this when you complete the Google-side configuration in Admin console in step 3 below.

- Verify one or more domains at the next step.
Finish SSO configuration in Admin Console
1. Return to the Admin console browser tab.
2. On the Google Identity Provider details page, click Continue.
3. On the Service provider details page, input the ACS URL with the ACS URL you copied from Visily above. The value for Entity ID is https://app.visily.ai/sso/saml.

4. Click Continue.
5. On the Attribute Mapping page, click the Select field menu and map the following Google directory attributes to their corresponding Visily attributes. Note that firstName, lastName, and email are required attributes.

6. Click Finish.
7. Turn on Visily SAML app Click ON for everyone for Organizational Units that you want then click Save.

SP-initiated SSO
To sign in to Visily using Google SSO credentials directly from the Visily app:
- Open your browser and navigate to the Visily SSO sign-in page: https://app.visily.ai/sso/login
- Enter your email address, and click the “Continue” button.
- You will be redirected to the Google SSO login page. Enter your Google SSO credentials (email and password).
- Once authenticated, you will be redirected back to the Visily dashboard.
This flow ensures that users can securely access Visily through Google SSO without needing to visit the Google SSO dashboard first.
Supported Features
Visily’s Google SSO integration supports the following features:
- IDP-initiated SSO: Secure single sign-on through SAML 2.0, allowing users to authenticate using their Google SSO credentials.
- SP-initiated SSO: Users can start the sign-in process directly from the Visily application.
- Group Assignments: Admins can assign specific user groups to the Visily app within Google SSO.
- Just In Time (JIT) Provisioning: Automatically add new users to the Visily application.
Limitations:
- SP-initiated SSO is currently limited to users with verified domains.


