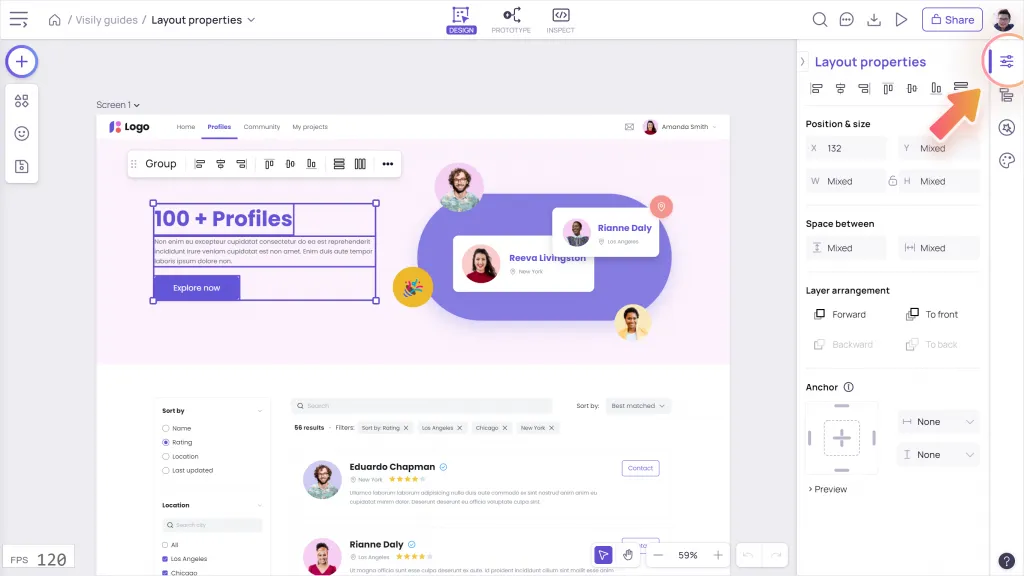
Access the Layout Properties panel
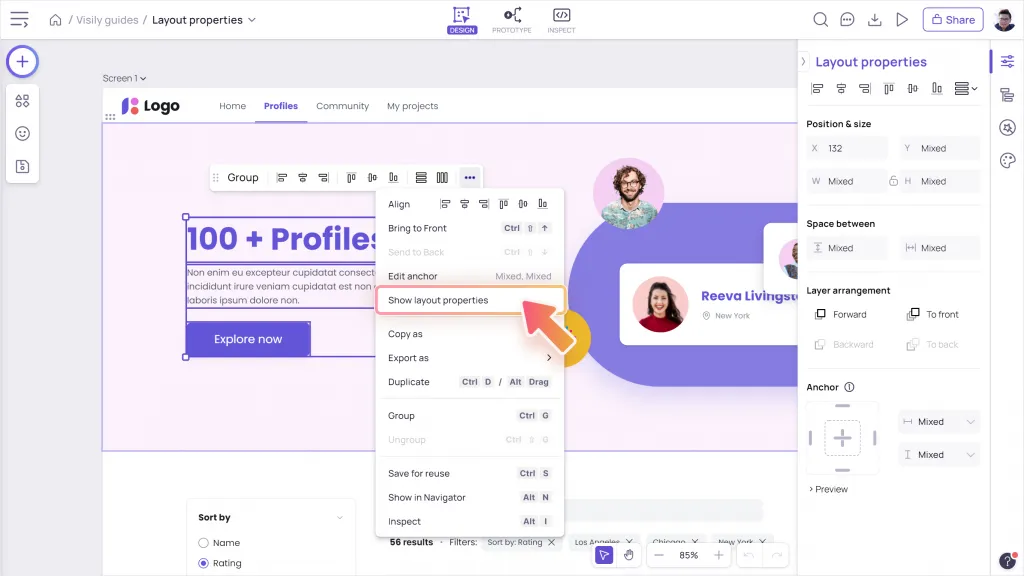
To open Layout Properties panel, click on the 1st menu item on the right sidebar in Design mode.

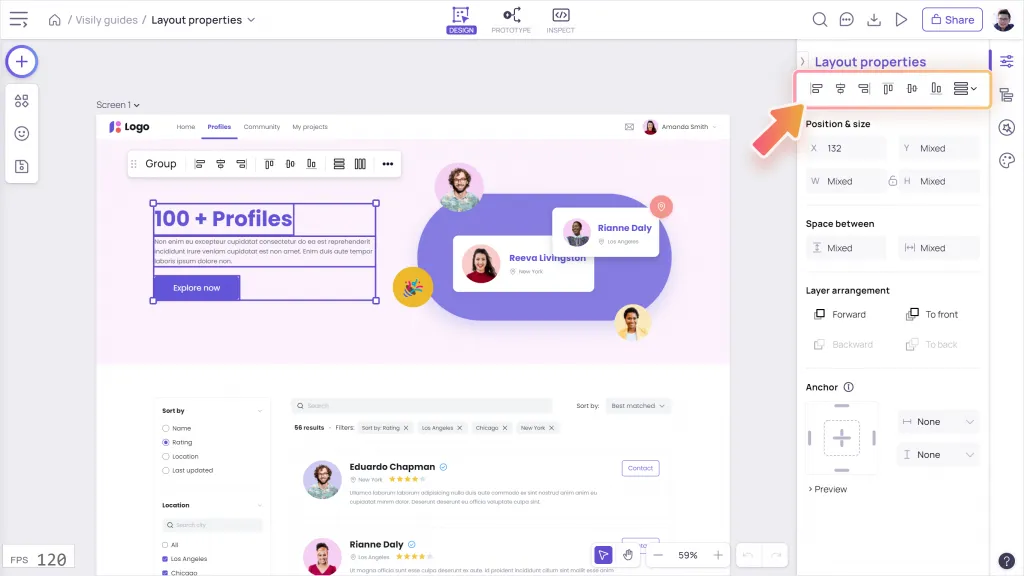
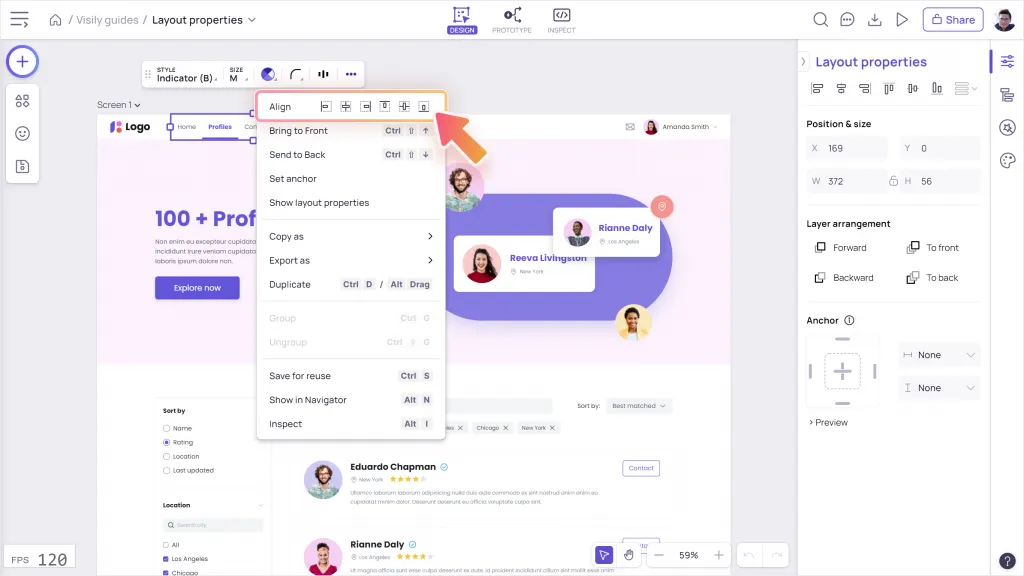
 Alignment
Main use cases:
- Select a single element to align to its parent (a container, a screen or a group)
- Select multiple elements, groups or screens to align in relation to each other.

Distribute spacing
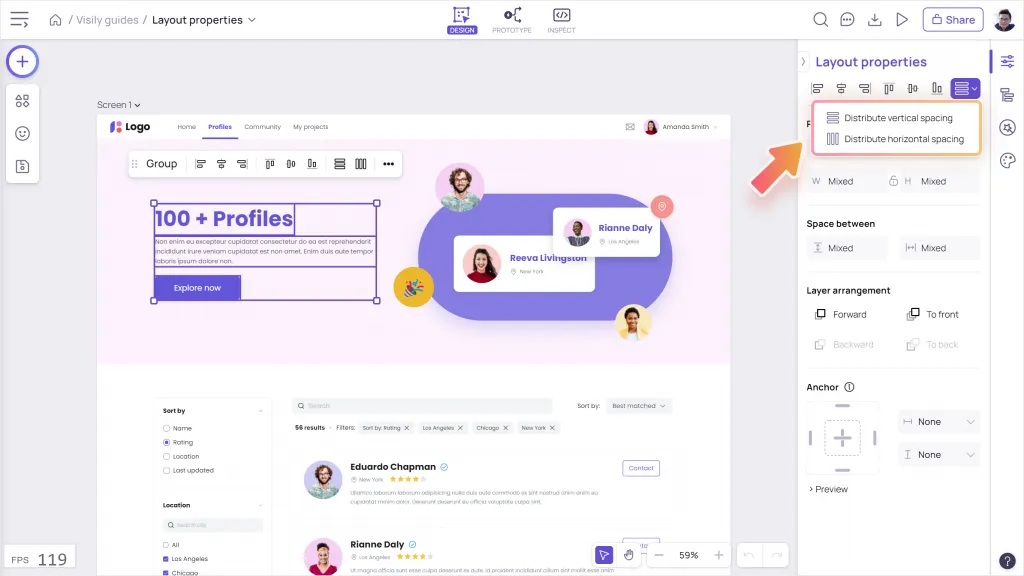
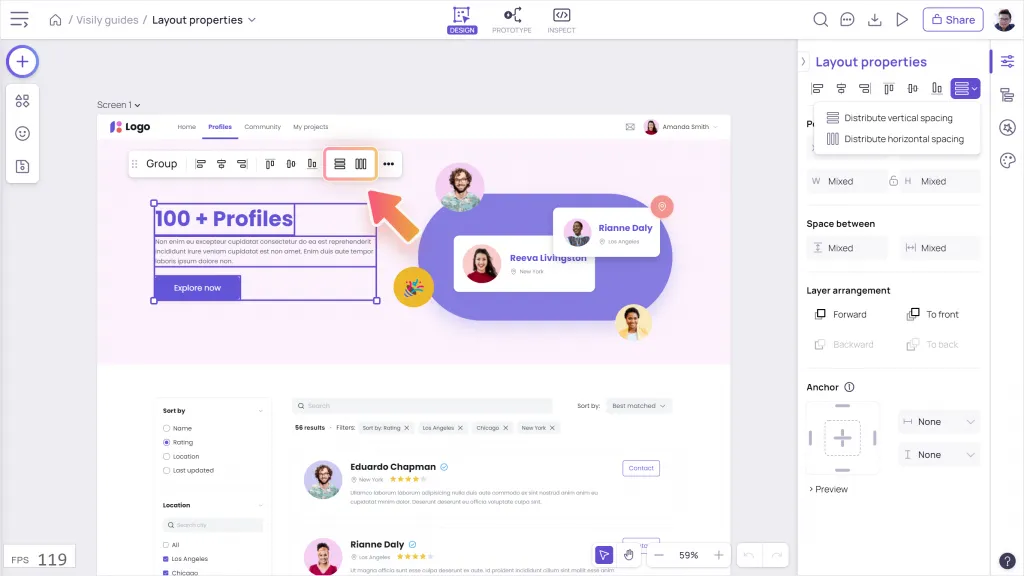
Use Distribute spacing to create an equal spacing between objects in your selection, either vertically or horizontally. You need to select at least 3 objects to enable this property.
As the objects are distributed, the position of the outermost objects will remain the same while the spaces between the objects are adjusted.

Position
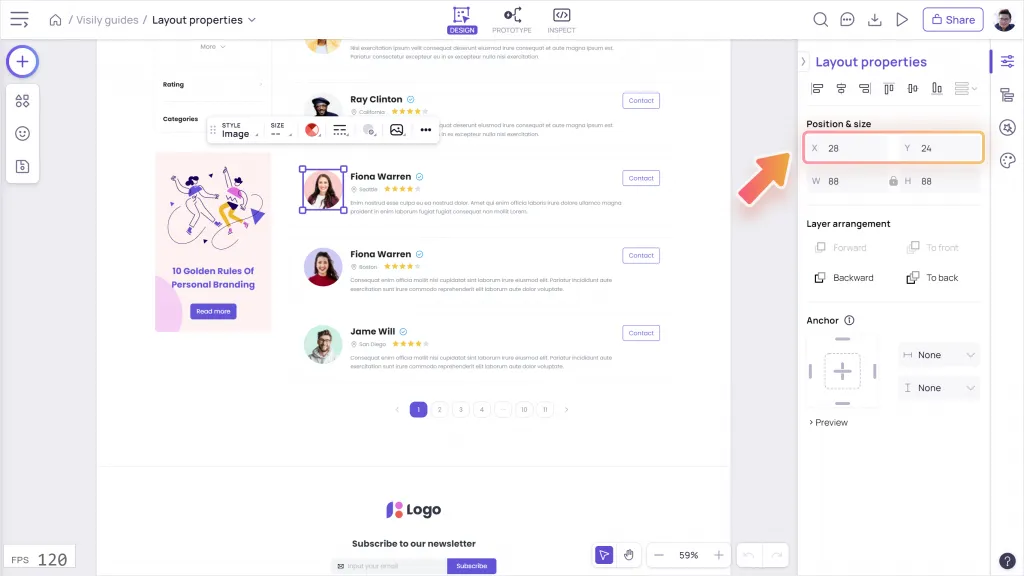
As an alternative to dragging and moving the objects around the canvas, you can input the X-Y coordinate to specify the granular position of those objects.
The X-Y coordinate refers to the top-left corner of the object’s bounding and is subject to the object’s parent screen. Changing X moves the object along the horizontal axis, and changing Y moves the object along the vertical axis.
The X-Y coordinate will be updated accordingly as you move the objects around the canvas.

Size
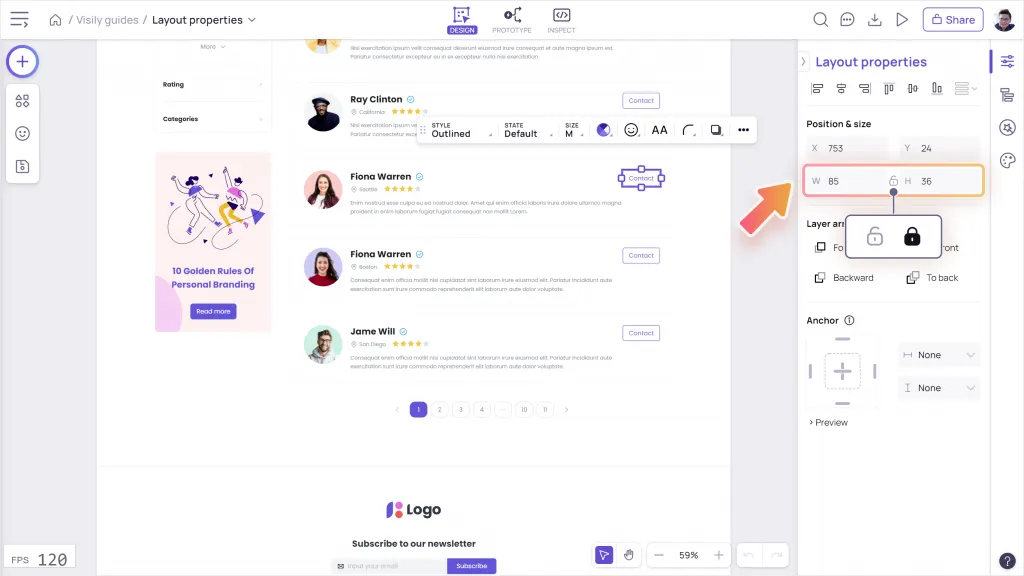
As an alternative to dragging objects to resize on the canvas, you can input the W (stands for Width) and H (stands for Height) to specify the entity exact size. This comes in handy as you need to specify the exact size for multiple objects.
Each object has its own minimum width and height to avoid unnecessary distortion in the design. If you input W-H values below these minimum sizes, they will automatically revert to the nearest accepted values.


Space between
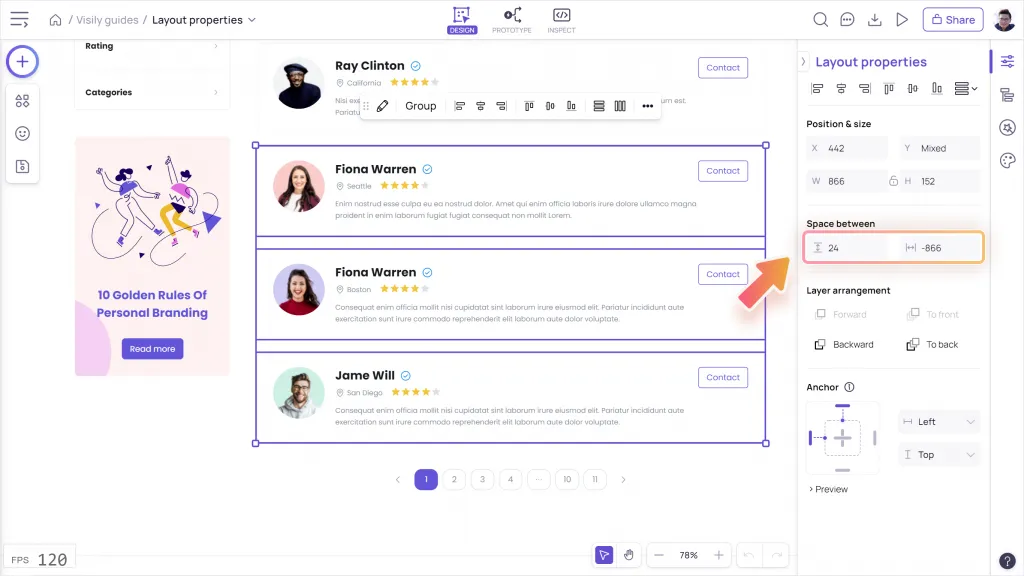
Inputting the Space between value allows you to specify the exact space (in pixel) between the selected objects. You can also use this to set equal spacing between multiple objects.
Depending on the direction of your selected objects, you can choose to input the horizontal or vertical space between value.
- If your selected objects line up as a row, use horizontal spacing.
- If your selected objects line up as a column, use vertical spacing.
Layer arrangement
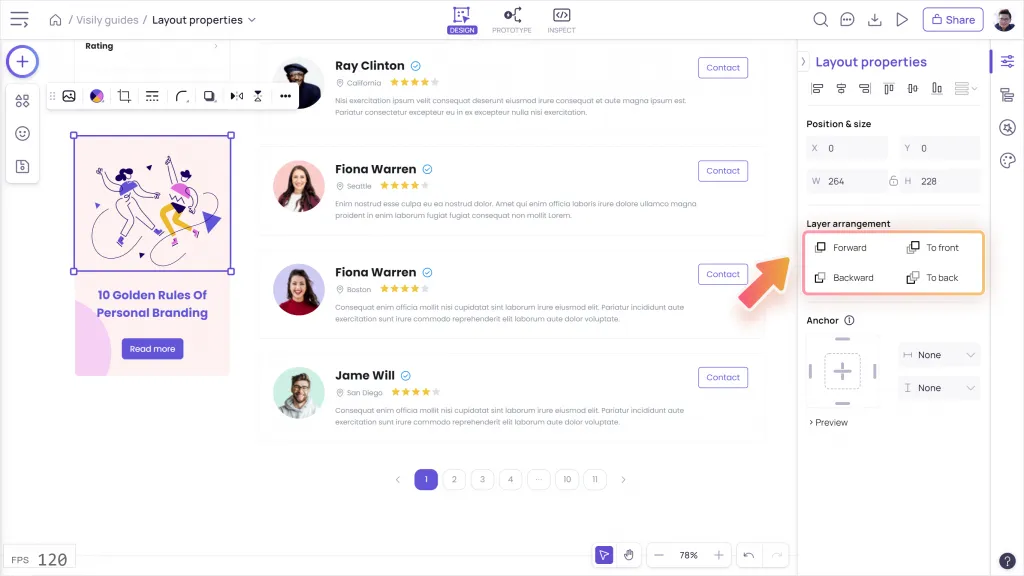
Each object is placed on one layer on the layer tree of the board. The last object added will be placed at the top layer of the tree.
The layer arrangement function allows you to re-order the object layers to make the object more or less visible on the design. You can choose from:
- Bring forward (or press Command ↑ (Mac); Ctrl ↑ (Wins))
- Bring to front (or press Command + Shift + ↑ (Mac); Ctrl + Shift +↑ (Wins))
- Send backward (or press Command ↓ (Mac); Ctrl ↓ (Wins))
- Send to back (or press Command + Shift + ↓ (Mac); Ctrl + Shift + ↓ (Wins))
You can rearrange the object layer within its immediate parent container or screen. Changing layer orders will not affect the position of the object on X-Y axis.
Anchor
Setting Anchor to an element helps keep the relative alignment of that element to its parent container or screen when resizing the parent. Utilize this feature to work the responsiveness of your designs.
Add or edit anchor of an element
The anchor function only works for an element placed in a parent container or screen. You can also set anchor to multiple elements at the same time or to a group that is placed in a parent container or screen.
You can choose to anchor the element horizontally (left-center-right) or vertically (top-center-bottom) depending on the direction you want to resize the parent.
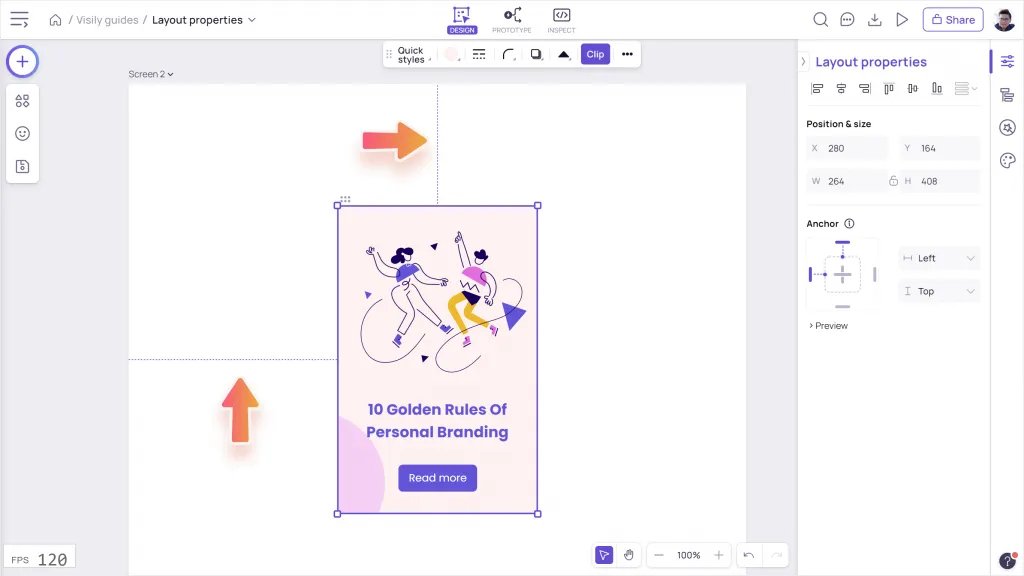
Once selecting an element, open the Anchor section on Layout Properties panel and set anchor by:
- Clicking directly on the anchor point
- Or choose from the horizontal or vertical anchor dropdown
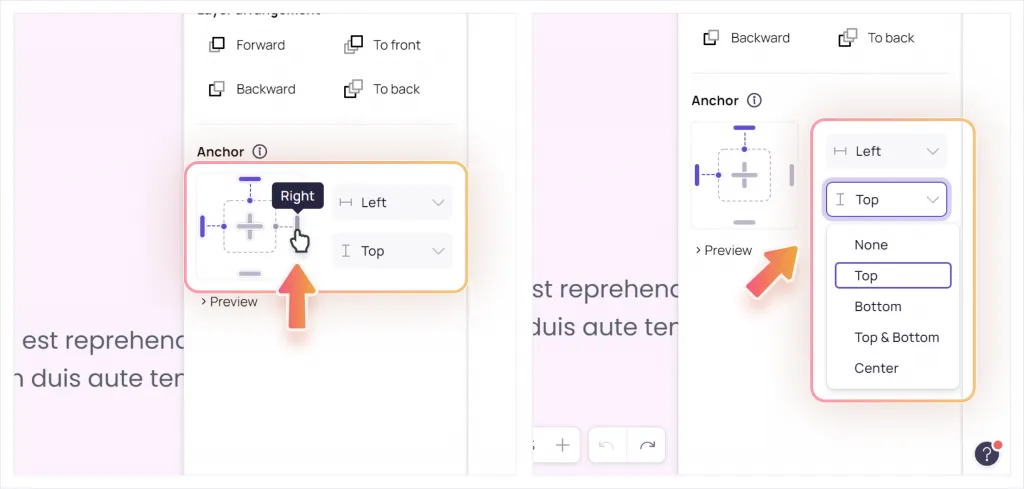
Anchoring an element means setting a fixed margin of the element to its parent. For instance, if you set anchor an element to the right of the parent, its right margin will be fixed so its position will be adjusted as you resize the parent.

How to view anchor settings of an element
To check if an element on design has been set with an anchor or not, select and observe that element on the canvas. If it has been anchored, there will be purple dash lines to indicate its fixed margin to its parent container or screen.
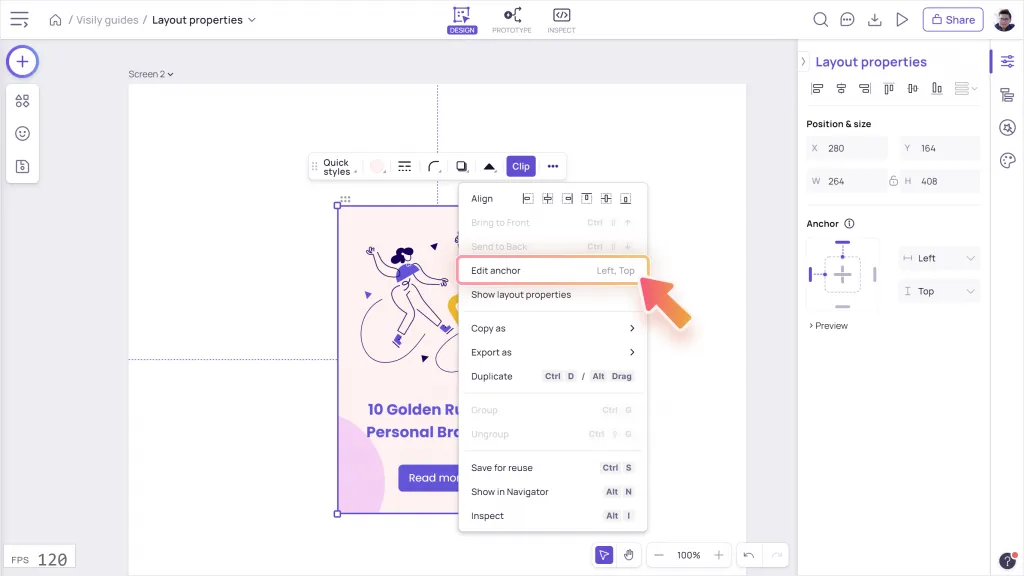
Alternatively, you can view the anchor settings of the element in the More Actions menu (opened by right-clicking on the element) or in the Layout Properties panel.
