Welcome to Visily! Start your design journey with the basics: Boards and Folders. This guide will walk you through how to create and manage them throughout your design process.
Create Board
A board is where all your design work happens. Within a board, you can create unlimited canvases for collaborative ideation and exploration. Visily offers several ways to create a board: start with AI or templates, duplicate an existing board, or begin from scratch with a blank one.
Where to find the create board options
The Create Board options are placed in easily accessible spots to help you get started quickly.
- In your workspace view, whether you’re in a Team Space or Private Space (selected from the left panel), you’ll see the starting options in the main area. Alternatively, click the Create new icon (“+”) next to the space name to open a dropdown menu with board creation options.
- If the space has no boards yet, a ‘Create your first board’ option will appear below the starting options menu

Create a board using Start with AI
The “Start with AI” option allows you to use Visily AI to generate either screens or design elements based on your description, simply by entering a prompt with or without an image. Check out our Visily AI guide HERE for more details on how it works.
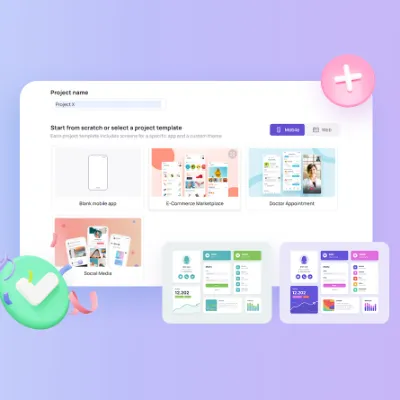
Create a board using Start with Template
The “Start with Template” option allows you to use any template from our prebuilt library, whether for screens or diagrams. Learn more about our template library HERE.
Duplicate Board
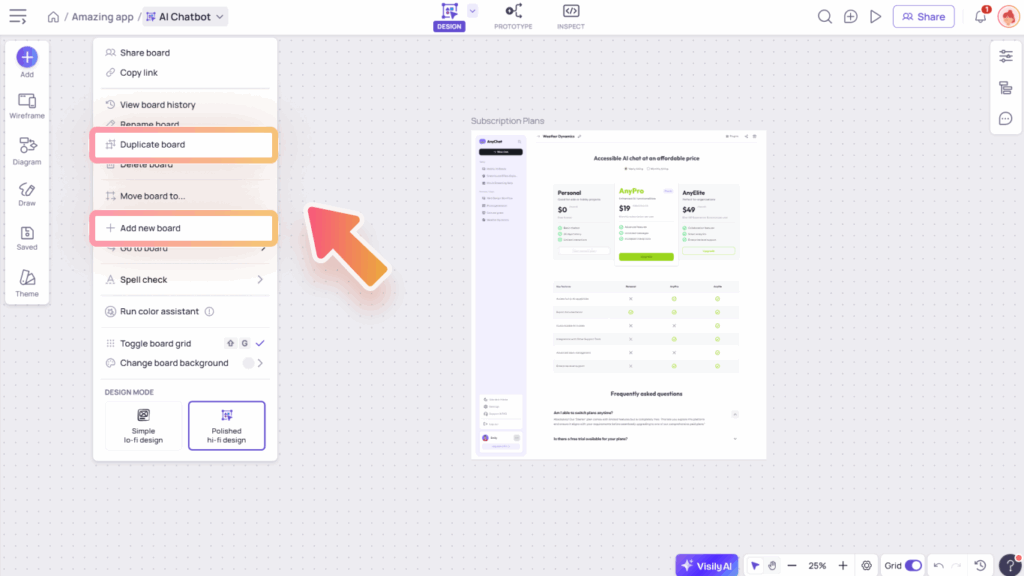
You can duplicate an existing board within your workspace by selecting the “Duplicate board” option. A dialog will appear where you can name the new board, choose its destination, and decide which content to copy.
Content you can duplicate includes:
- Theme colors & fonts – Automatically applied to the new board, including any custom fonts you’ve added.
- Designs from the original board.
- Uploaded images and saved templates.
- Collaborations & permissions set on the current board.
Only Theme colors & fonts (including custom fonts) are duplicated by default; all other options can be selected as needed.
Create Blank Board
If you simply want a board to start designing your own ideas, select “Create Blank Board”. You can choose from 03 options to match your needs:
- Low-fidelity design (Lo-fi): ideal for quick sketches, wireframes, and brainstorming concepts without focusing on visual details.
- High-fidelity design (Hi-fi): perfect for polished, detailed designs that closely resemble the final product.
- Diagram: great for creating flowcharts, planning maps, and other structured diagrams to visualize processes or ideas.


Create a board from the browser address bar
To quickly create a board, simply type visily.new in your browser’s address bar and a new board will open in your browser window. Make sure you’re logged into your Visily workspace to use this shortcut.
For free plans, the board will be created in the default team space and shared with all members, while for paid plans, it will be created in your private space.
Manage Board
Once your boards are created, you can manage them with actions such as:
- Share the board or copy its link to share with others. Learn more about sharing.
- Rename, duplicate, or delete the board.
- Change the cover image.
- Move the board to another folder within your workspace to keep your design files organized and improve workflow efficiency. To move a board, you must have:
- Edit permission for the original board.
- Edit permissions for both the original and destination folders.

Create and Manage Folders
Folders in Visily help you neatly organize your boards, making it easier to manage projects, group related designs, and keep your workspace clutter-free.
Where to create folders
Similar to creating boards, you’ll find the option to create a folder right next to the board creation options in your workspace’s main area. Alternatively, you can click the Create new icon (“+”) beside the space name to open a dropdown menu, where you’ll see the option to create a folder.

Manage folders
You can manage your folders by opening the “More actions” menu next to the folder name, where you can:
- Share the folder or copy its link to share with others. Learn more about sharing.
- Rename or delete the folder.
- Move the folder to another team space or private space within your workspace.


